

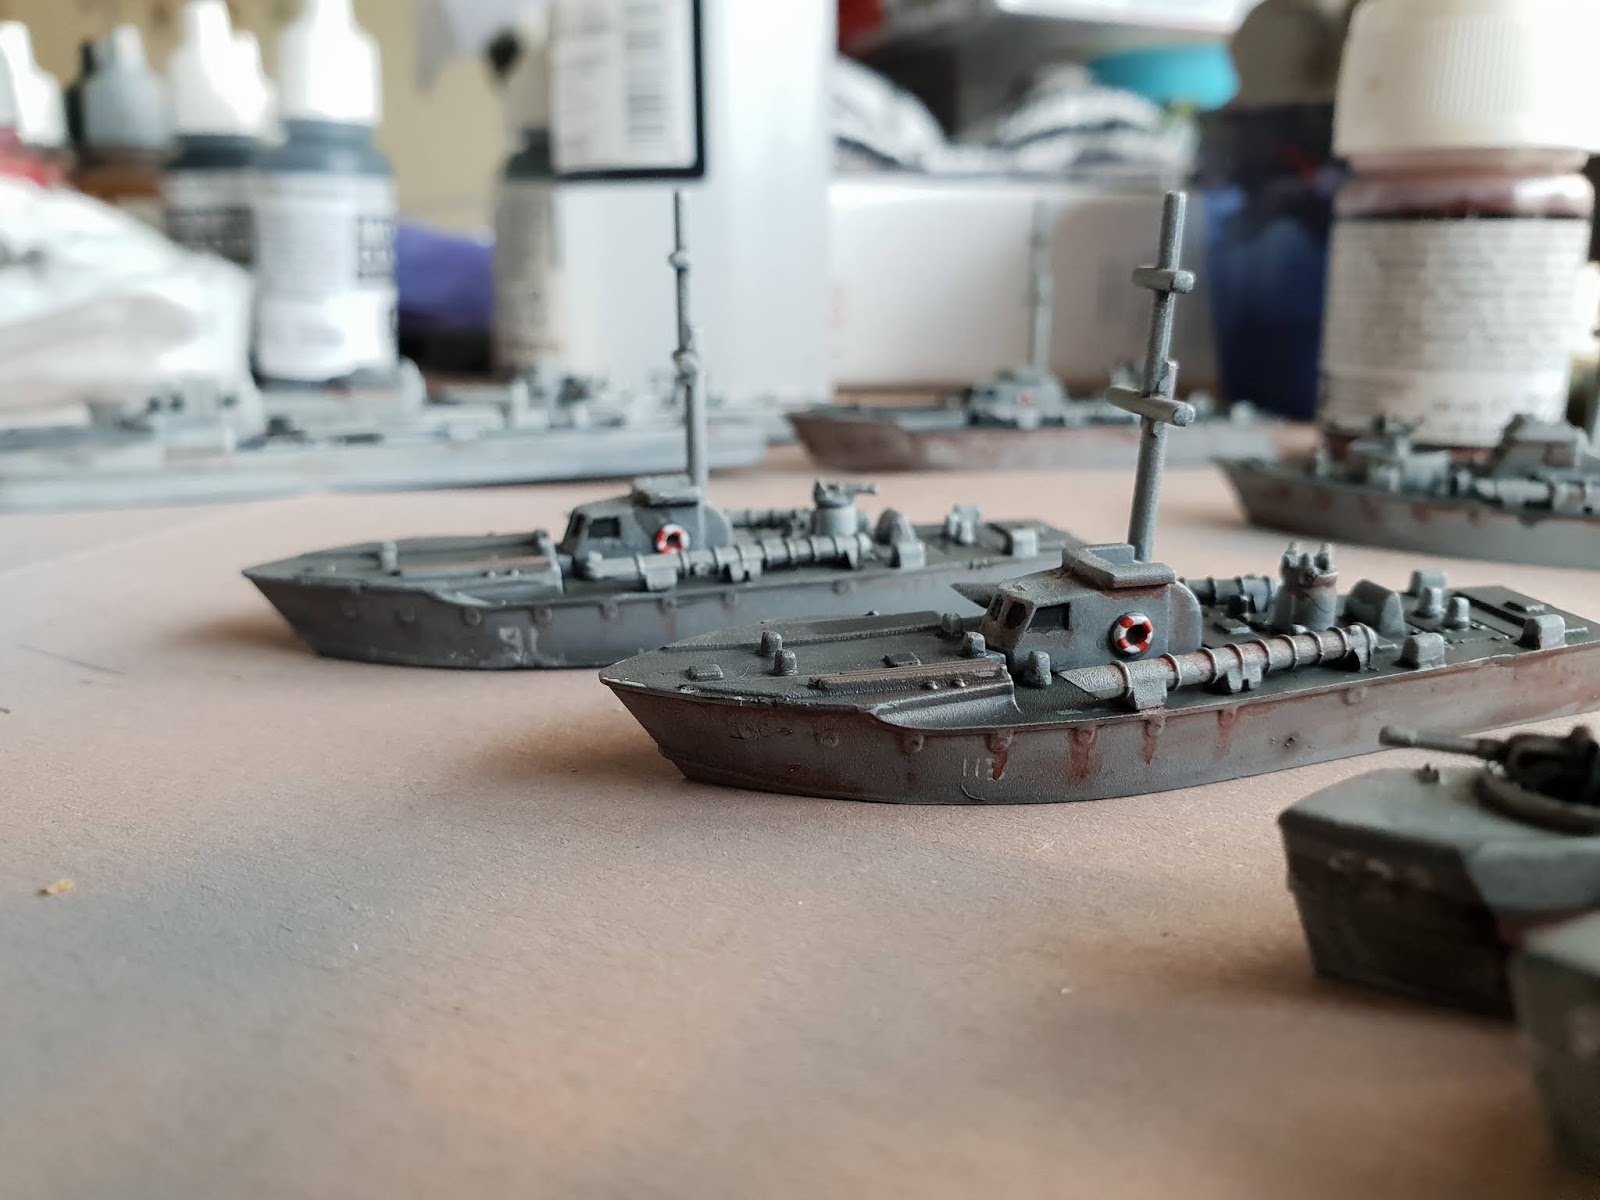
The two types of boat in the main box are British Vospers and German Schnellboots (called E-Boats by the Brits), both Motor Torpedo Boats or MTBs. Painting them up was very easy, and some simple weathering with rust pigment finished them off. The finishing touch was rigging the radio antenna on the Vospers using some metallic thread.


The game seems to envision the boats being used without bases but the models as they are, although pretty, lacked dynamism. I wanted to give them a sense of movement and drama and to do that they needed a base.


Thankfully, I had learnt how to do sea texture for the U-Boat diorama a while ago, so this was basically a stripped down version. As I know a lot of other people have recently got into the game, here's a simple step by step.
1. make the base.
I used plasticard as the water resin is quite heavy and I wasn't sure the effect it would have on mdf.
I estimated base sizes for the two ships and then added texture. On 1/1200 I'd use plastic putty, but I wanted larger waves here so went with polyfilla.


2. paint
I used vallejo deep sea green and then sponged some random sky grey and off white. These shouldn't follow the contours of the base as they will appear beneath the surface and are just there to add depth - although it's probably handy if you put a lot around the wake at the stern.


3. Water effect
This comes in two stages. First, a layer of Still Water. This provides a gloss surface and, more importantly, self-levels any lumps and bumps in the polyfilla.

Then add the Atlantic water paste (there are other ones available with different colours). This is applied quite thick and will dry with some decent depth to it.


When this has dried, add a second layer.
MAKE SURE YOU LEAVE AT LEAST 24 HOURS FOR EACH OF THESE THREE LAYERS TO CURE BEFORE YOU ADD THE NEXT.
4. more painting
You can faff around with this bit to your heart's content, but I use a mix of the Atlantic paste, off white and glaze medium to sponge around the higher areas. This is then followed with a final sponge of pure offwhite on the highest points.


5. Wave texture
Glue the boats down at this point. You don't need much glue or to worry about any gaps as the boats will be bedded down more securely in the next step.
To add the first part of the wake, dip some plain white tissue paper in the still water effect and then push it along the side of the boat. Scrunch it up to give shape to the waves and add more still water to blend it into the base.


Then, if you have any parts where the boat is breaking a wave, or you want to add more body to the waves, do the same with cotton wool.


The process for all of the boats took no more than two hours - but spread over four days. Patience is the key, but I think the final effect is worth it.

Great looking effects. I'm intrigued by metal thread. What is it typically used for and where would I find it? I rigged my aeronefs with some fine silk thread but I wasn't entirely happy with the process/effect.
ReplyDeleteIt's not actually metal, rather *metallic*. It's called invisible smoke thread and it's used for invisible repairs on dark clothes. It's actually a sort of golden wire colour.
DeleteFor other ships I use dark brown cotton, as it soaks up superglue really well.
DeleteGreat looking models and bases. You certainly achieved your goal of creating a dynamic scene.
ReplyDelete